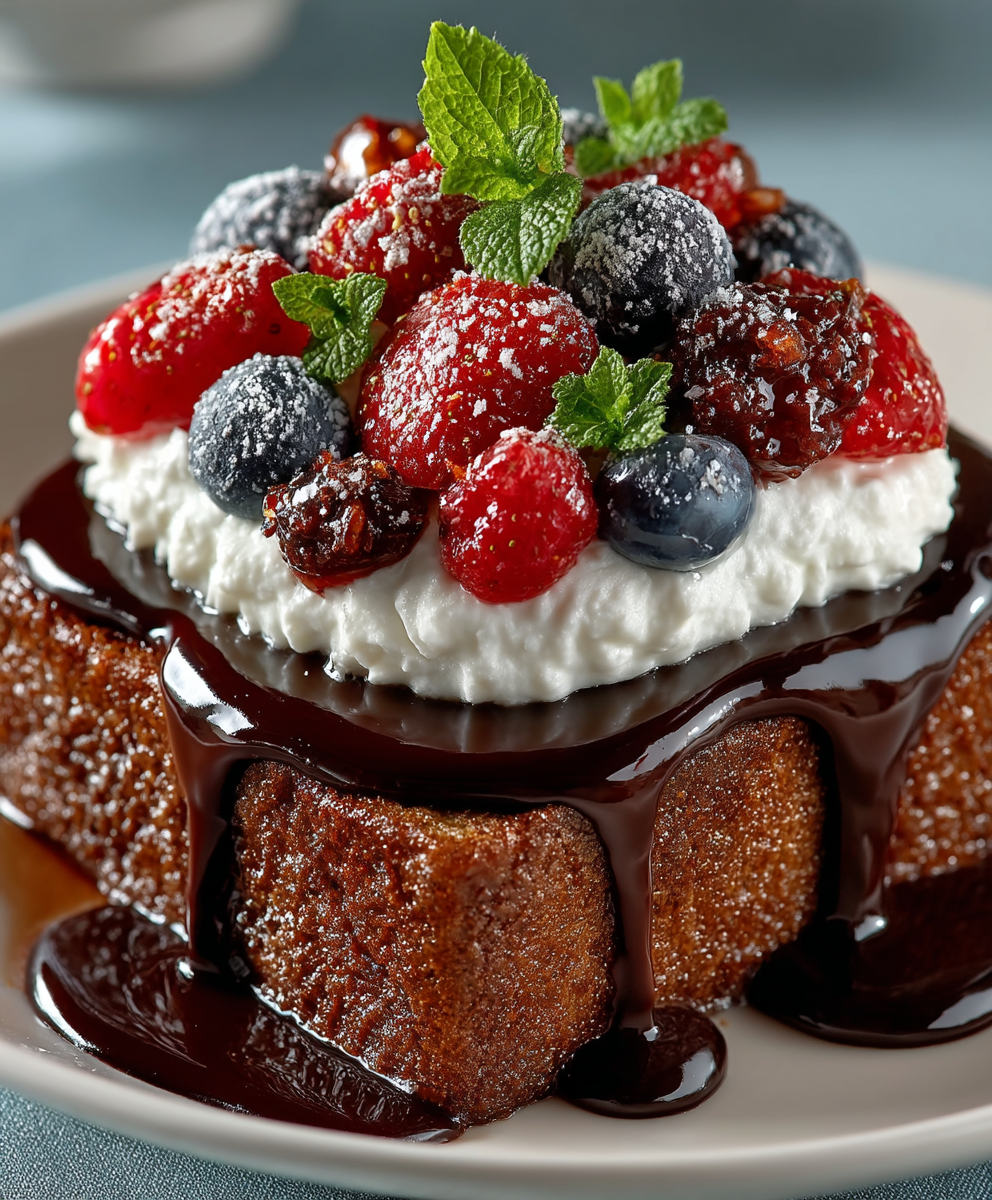
How to Caramelize Brulee: The Ultimate Guide

Crème brûlée is one of the most iconic desserts that embodies elegance, simplicity, and indulgence. This creamy custard with a delicate caramelized sugar crust is a favorite in fine dining and home kitchens alike. Many people often ask, “How to caramelize brulee?” This guide will walk you through the step-by-step process of achieving that perfect caramelized topping. Whether you are a beginner or a seasoned cook, this guide will help you understand the science and technique behind caramelizing crème brûlée.

What Is Crème Brûlée?

Before diving into the details of caramelizing crème brûlée, let’s first explore what this classic dessert really is. Crème brûlée, meaning “burnt cream” in French, is a rich custard base topped with a layer of hardened caramelized sugar. The custard is usually made from heavy cream, egg yolks, sugar, and vanilla, creating a smooth and velvety texture.

The beauty of crème brûlée lies in the contrast between the creamy custard and the crackling caramelized sugar crust. The sugar crust is the signature feature, and learning how to caramelize it perfectly is crucial for an authentic experience.

The Importance of Caramelizing Crème Brûlée

The caramelization of the sugar on top of the crème brûlée is essential for achieving the dessert’s hallmark texture and flavor. It transforms regular sugar into a crispy, glass-like topping that contrasts beautifully with the rich custard underneath. But beyond the visual and textural appeal, the caramelized sugar adds a subtle bitterness that balances the dessert’s sweetness, giving crème brûlée its sophisticated flavor profile.

The Art and Science of Caramelization

Caramelization is a form of non-enzymatic browning that occurs when sugar is exposed to high heat. This process causes the sugar to break down and transform into new compounds, resulting in the browning and hardening of the sugar crust. The high temperature melts the sugar, which then cools and solidifies into a brittle sheet on top of the dessert.

It is important to strike the right balance when caramelizing crème brûlée. Too little heat, and the sugar won’t fully melt and harden. Too much heat, and the sugar may burn, becoming too bitter and leaving an unpleasant taste.

Essential Tools for Caramelizing Crème Brûlée

Before you get started with caramelizing caramelize brulee, it is important to gather the necessary tools. These will ensure that the process is smooth and that you achieve the best results. Here’s what you’ll need:

1. Culinary Torch (Blowtorch)

The most iconic and effective tool for caramelize brulee crème brûlée is the culinary torch or blowtorch. This tool allows you to direct intense heat precisely onto the sugar, melting and browning it without overcooking the custard underneath.

How to Use a Culinary Torch:

  • Hold the torch about 6 inches away from the surface of the crème brûlée.
  • Move the flame in a slow, circular motion to evenly heat the sugar.
  • Keep a close eye on the sugar as it caramelizes, and remove the torch once the sugar turns golden brown.

2. Oven Broiler (Alternative Method)

If you don’t have a culinary torch, don’t worry! You can still caramelize your crème brûlée using your oven’s broiler. While this method is slightly less precise, it can still deliver good results.

How to Use an Oven Broiler:

  • Preheat the broiler to its highest setting.
  • Place the crème brûlée dishes on a baking sheet.
  • Position the baking sheet on the top rack of the oven, about 4 inches from the heat source.
  • Keep a close eye on the sugar, and rotate the dishes as needed to ensure even browning.

3. Fine Sugar or Superfine Sugar

The type of sugar you use matters when caramelizing crème brûlée. Superfine sugar, also known as caster sugar, works best for caramelization. Its fine granules melt more quickly and evenly than regular granulated sugar, helping to create a smooth, even caramelized layer.

Step-by-Step Guide: How to Caramelize Crème Brûlée

Now that you have your tools ready, let’s walk through the steps of caramelizing crème brûlée to perfection.

Step 1: Prepare the Custard Base

Before caramelizing, you’ll need to have your caramelize brulee custards fully prepared and chilled. Here’s a brief overview of the steps to make the custard:

  • Heat the Cream: Start by heating heavy cream with vanilla (or another flavoring) until just below boiling.
  • Whisk Egg Yolks and Sugar: In a separate bowl, whisk egg yolks and sugar until pale and creamy.
  • Temper the Eggs: Gradually pour the hot cream into the egg mixture while whisking continuously.
  • Bake the Custards: Pour the custard mixture into individual ramekins and bake in a water bath at a low temperature until the custard is set but still slightly jiggly in the center.
  • Chill the Custards: Allow the custards to cool to room temperature, then refrigerate for at least 4 hours or overnight.

Step 2: Sprinkle the Sugar

Once the custards are fully chilled, it’s time to prepare for caramelization.

  • Sprinkle an Even Layer: Sprinkle a thin, even layer of superfine sugar on top of each custard. Use about 1 to 2 teaspoons of sugar per ramekin, depending on the size.
  • Distribute the Sugar: Tilt and rotate the ramekin to ensure the sugar is evenly distributed across the surface.

Step 3: Caramelize the Sugar

Now comes the fun part: caramelize brulee the sugar.

Method 1: Using a Culinary Torch

  1. Hold the Torch Steadily: Hold the culinary torch at a 45-degree angle, about 6 inches away from the sugar.
  2. Move in Circular Motions: Turn on the torch and move the flame in small, circular motions across the surface of the sugar. This ensures even caramelization.
  3. Watch Closely: As the sugar melts, it will bubble and turn golden brown. Be careful not to linger too long in one spot, as this can cause burning.
  4. Cool: Allow the sugar to cool for about 1 minute. As it cools, it will harden into a crisp shell.

Method 2: Using the Oven Broiler

  1. Preheat the Broiler: Preheat your oven’s broiler to the highest setting.
  2. Place the Ramekins on a Baking Sheet: Arrange the ramekins on a baking sheet.
  3. Broil: Place the baking sheet on the top oven rack, about 4 inches from the broiler.
  4. Watch Carefully: Broil the custards for 2 to 4 minutes, or until the sugar is melted and golden brown. Rotate the ramekins as needed to ensure even caramelization.
  5. Cool: Remove the ramekins from the oven and let the sugar cool and harden for about 1 minute.

Step 4: Test the Crust

Once the sugar has cooled, it’s time to test the caramelized crust. Lightly tap the surface with the back of a spoon. If it makes a satisfying crack, your crème brûlée is ready to serve!

Step 5: Serve Immediately

Crème brûlée is best served immediately after caramelization. This ensures that the sugar crust remains crisp and doesn’t soften due to moisture from the custard. Serve the dessert as is, or garnish with fresh berries, mint leaves, or a dusting of powdered sugar for an elegant presentation.

Tips for Perfect Caramelization

Caramelizing crème brûlée can be a delicate process. Here are a few tips to ensure success every time:

1. Use a Fine, Even Layer of Sugar

A thick layer of sugar can be difficult to caramelize evenly and may result in burnt spots. Instead, aim for a thin, even layer that will melt quickly and uniformly.

2. Practice Patience

Rushing the caramelization process can lead to uneven browning or burnt sugar. Take your time, and move the torch or rotate the ramekins under the broiler as needed to ensure even caramelization.

3. Watch the Temperature

If using a broiler, be mindful of the temperature. A broiler that’s too hot can burn the sugar before it has a chance to fully melt. Keeping a close eye on the sugar and rotating the dishes can help prevent this.

4. Choose the Right Sugar

As mentioned earlier, superfine or caster sugar works best for caramelizing crème brûlée. The smaller granules melt more evenly and create a smoother caramelized layer.

5. Serve Immediately

To enjoy crème brûlée at its best, serve it right after caramelization. The crisp sugar crust contrasts beautifully with the cool, creamy custard, creating a delightful textural experience.

Common Mistakes to Avoid When Caramelizing Crème Brûlée

Despite its simplicity, caramelizing crème brûlée can sometimes be tricky. Avoid these common mistakes to ensure that your dessert turns out perfectly:

1. Using Too Much Sugar

Applying too much sugar can make it difficult to caramelize evenly, leading to thick, burnt areas. Always use just enough sugar to create a thin, even layer on the surface of the custard.

2. Overheating the Sugar

When using a torch or broiler, it’s important to keep a close eye on the sugar to prevent burning. Burnt sugar can turn bitter and detract from the overall flavor of the dessert. Be sure to caramelize the sugar until it reaches a golden-brown color, but avoid going too dark.

3. Under-Caramelizing the Sugar

On the other hand, under-caramelizing the sugar can leave it grainy and soft rather than crisp and glassy. Make sure to apply enough heat to fully melt and caramelize the sugar.

4. Using Regular Granulated Sugar

Regular granulated sugar can sometimes be too coarse, leading to uneven melting and caramelization. For best results, stick with superfine or caster sugar, which melts more evenly and quickly.

Frequently Asked Questions (FAQs)

Can I Make Crème Brûlée in Advance?

Yes! You can prepare the custards in advance and refrigerate them for up to two days. Caramelize the sugar just before serving to ensure the crust remains crisp.

Can I Use Brown Sugar to Caramelize Crème Brûlée?

While traditional crème brûlée uses white sugar for caramelization, you can experiment with brown sugar for a slightly different flavor profile. However, be aware that brown sugar has a higher moisture content, which can make it more difficult to achieve a perfectly crisp crust.

What If I Don’t Have a Torch?

No problem! You can use your oven’s broiler to caramelize brulee the sugar. While a torch gives more precise control, the broiler can still achieve good results with careful attention.

How Do I Store Leftover Crème Brûlée?

If you have leftovers, store them in the refrigerator for up to 2 days. Keep in mind that the sugar crust will soften over time, so it’s best to enjoy crème brûlée shortly after caramelization.

Conclusion

Caramelizing crème brûlée is a simple yet rewarding process that transforms this classic dessert into a show-stopping treat. Whether you use a culinary torch or an oven broiler, the key is to apply even, controlled heat to achieve a golden-brown, crisp sugar crust. With a few essential tools and some practice, you’ll be able to master the art of caramelizing crème brûlée and impress your guests with this delicious and elegant dessert.

Enjoy your perfectly caramelized caramelize brulee, and don’t forget to savor the satisfying crack of that golden sugar crust with every bite!

Leave a Comment